Confessions of a Yarn Hog: A Storage Solution
I have a confession to make - I'm obsessed with yarn! It’s true, I can't resist the vibrant colors and textures on display in any yarn store. I'm sure many of you feel the same way; there are just so many different shades of blue, green, red, and more! I might already have a skein of red yarn at home, but it's not the exact shade that's in my cart or basket. Although I admit that when I get home, it turns out that it's often the same color I already had. Thus, I end up with another ball of red!
As a result of my addiction, I needed a storage solution. I tried storing my yarn in a plastic bin but it was challenging to see the color and texture of the yarn I was looking for. I had to pull the entire bin out of my large cabinet, sift through it, decide if the particular color I was searching for was there, and then repeat the process if it wasn't. It was a hassle.
After researching storage ideas on Pinterest and other sites, I found some amazing ideas people had come up with to store their yarn. However, some of these ideas were too complicated or required more space than I had available. Fortunately, I spoke with a lifelong friend who is also a yarnaholic. She suggested repurposing wine crates she spotted from a Facebook post through Marketplace. They were selling them for a great price. I couldn't resist the idea, and although the crates turned out to be smaller than expected, we were determined to make them work. A little Krud Kutter to remove the sticky wine labels, and voilà - we had the perfect solution to begin creating our storage solution. Now it was time to “Amberfi” them!

Let’s get started!
What you’ll need to obtain a shabby chic finish.
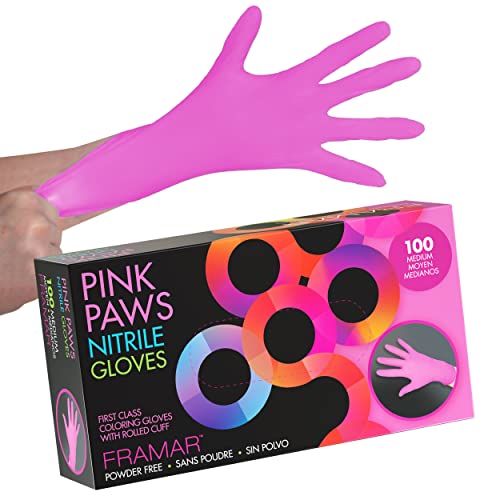
Rubber Gloves
Sander and sandpaper
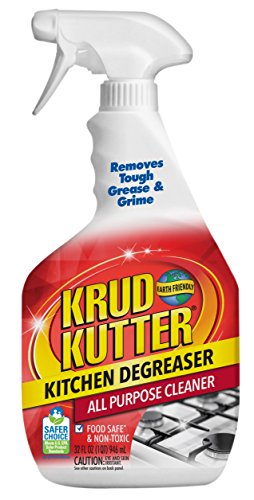
Krud Kutter (The best ever! I use it on everything. Floors, kitchen counters, sticky messes, etc.)
Old rags
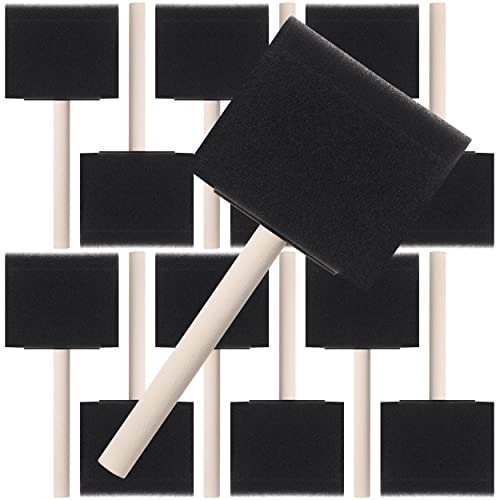
Sponge paint brushes
White pouring paint
Americana Decor Pink chalk paint (Or any color of your liking)
Americana Decor Cream paint (Optional or of course, any color of your choosing)
Wood glue (Titebond)
Clamps
Minwax Polycrylic Crystal Clear Top Coat (Clear Gloss)
Paint brush
2 1x4x24 inch board
Measuring tape
Level
Drill driver or screw driver
Wood screws
Rubber Bumpers (I was fortunate enough not to need these)
This post may contain some affiliate links. I may receive a small commission as an Amazon Associate for purchases made through links on this website. I only share links to items that I use or believe in.
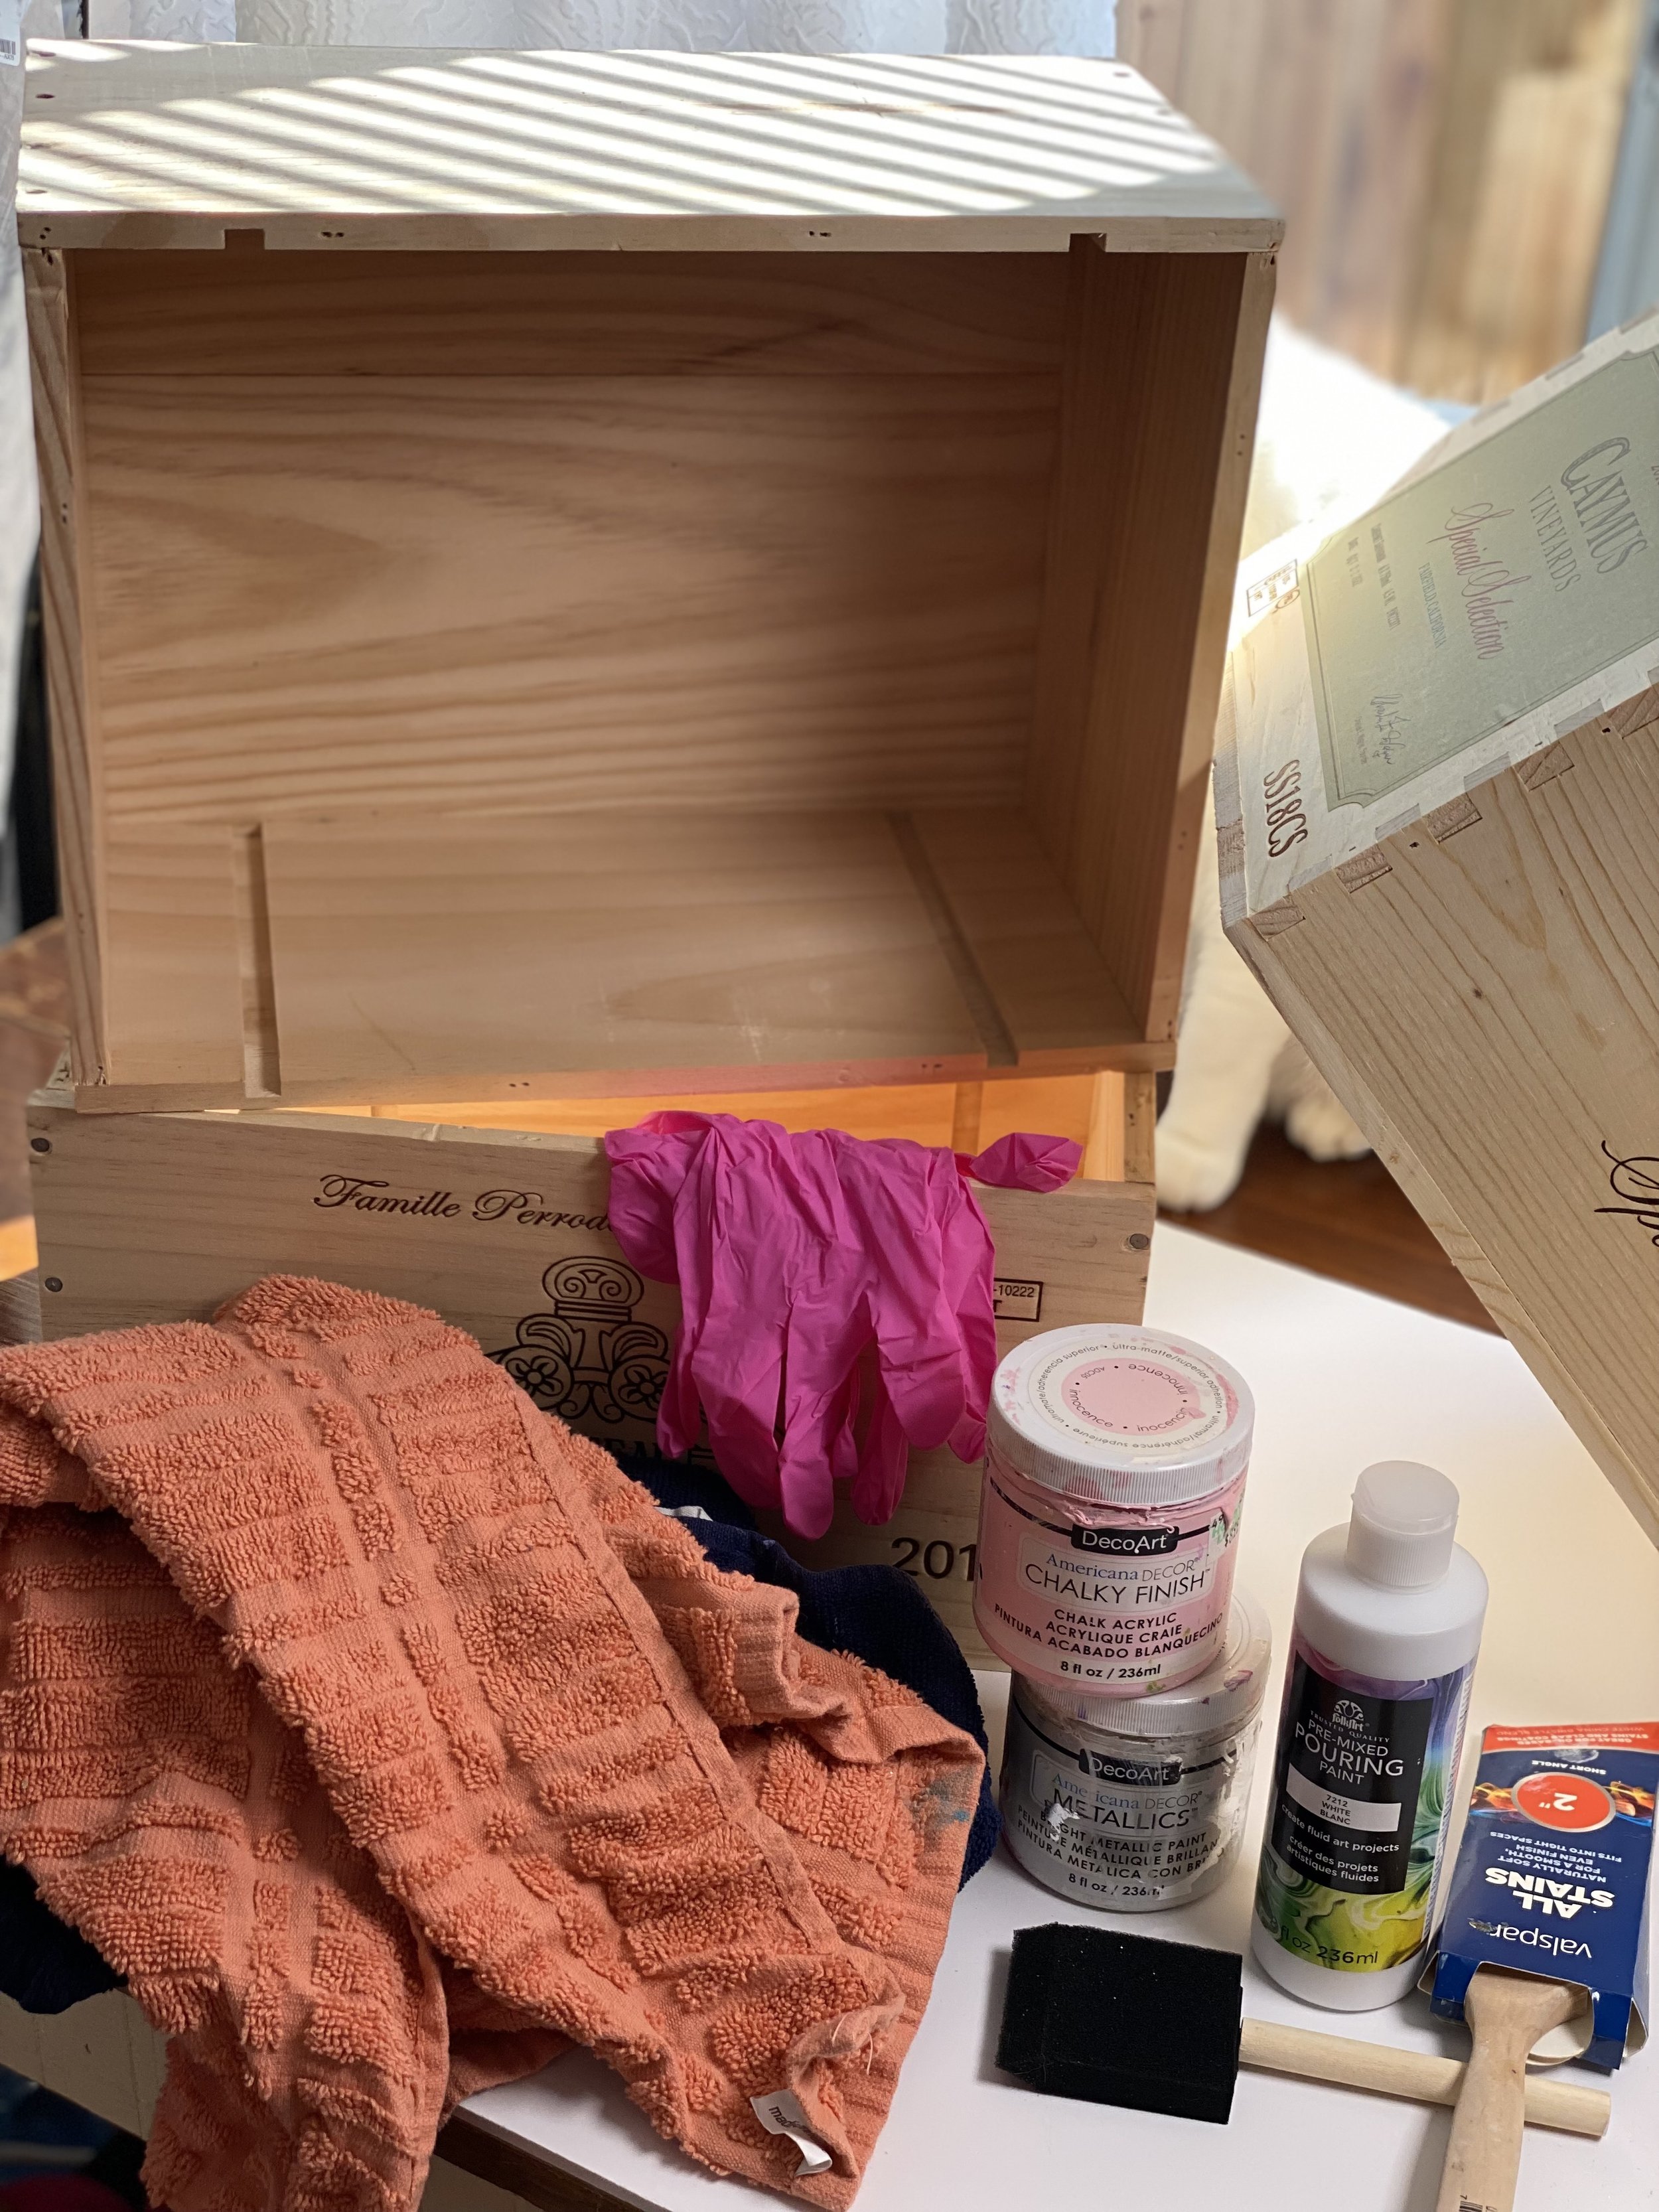
Items used to paint the crates.
How to Give Your Wooden Crates a Chic, Rustic Look in Just a Few Easy Steps::
Begin by lightly sanding the crates. Some may require more sanding than others, so be sure to adjust as needed.
Use a sponge paint brush to apply a sufficient amount of white pouring paint to the crate. Pouring paint is preferable as it has a medium or additive that makes the acrylic paint flow smoothly and uniformly. It also assists other paint to mix more evenly. For 12 crates, it's recommended to use 2 bottles of 8 fl oz of pouring paint. Avoid using thick, sticky paint as your base coat if you're aiming for a shabby chic appearance. Once you've applied the white paint, wipe off the excess using an old rag, leaving some of the original wood visible.
Now that the white paint is dry, use the same sponge brush to apply DecoArt Metallic paint in color Pearl with light strokes. This will give the crates a subtle metallic sheen.
Finally, use a smaller sponge brush to add small touches of DecoArt Chalky Finish paint in color Innocence. Apply just a few strokes to give the crates a pop of color.
Allow the crates to dry completely.

Items you’ll need to finish your project.
Preparing the Crates for Assembly: Applying the Clear Coat
To get the crates ready for assembly, it's crucial to apply a clear coat. With a paint brush, apply a generous amount of Minwax Polycrylic Crystal Clear Top Coat in Clear Gloss, using smooth and even strokes. Multiple coats may be necessary to ensure the crates are fully coated. Thankfully, the fast-drying properties of Minwax Polycrylic means that the drying process won't take too long.

After donning a pair of rubber gloves, I applied Titebond Wood Glue to the entire side of the crate and placed the desired crate on top of it. I then clamped everything together. (A quick word of advice: this glue dries rapidly.)

Use a clamp on each glued together crate.
Now, it's time to mount the crates onto the wall. I spent some time figuring out the best arrangement to ensure that the crates would hang securely while still having enough space to store all my yarn. After finalizing the design that fit the crates together, I was ready to get started.

Here is the final result of my design, which involved gluing all of my crates together.

Afterward, I proceeded to mounting them by first measuring where I wanted to place the crates on my wall.

My sister and I were able to attach a 1x4x24 inch board to the wall using drywall anchors. Our main goal was to achieve a sturdy and level structure, with the long bottom edge situated flush with the bottom of my crates.

Dry Wall Anchors.

Using included screws, I attached the board to the dry wall anchors.

To attach the crates to the wall board, I used small wood screws. I made sure to align the bottom of the crate with the bottom of the 1x4x24 board. Using one screw on each corner of both sides of the crates, I secured them in place.

Since my room was already bordered with wood, I utilized it as the mounting point for the tops of my crates.
If you're also a yarn lover and struggling to find a suitable storage solution, here are some tips to help:
Consider repurposing items like wine crates to store your yarn. These can be found at thrift stores or online marketplaces for a reasonable price.
Use shelving units or bookcases to stack your wine crates. I purchased my shelve at Hobby Lobby then added the floating wine crates above to allow for more yarn storage. It will also make it easy to see all of the yarn at once and make the selection process much more manageable.
If you have a large collection of yarn, consider organizing it by color or texture. This will make it easier to find what you're looking for and create a visually appealing storage solution.
Don't be afraid to think creatively when it comes to storage solutions.

Finished Shelves!
I really love the way my shelves turned out. It was so much fun getting to tackle a new project and certainly it was very rewarding to see my yarn nicely organized. It will make my creative process and projects so much easier with my room organized so neatly. I’m also proud of myself for digging in and tackling such a huge project.
I invite all of you to face your self doubts and know you are well equipped to take on this project or something similar or even bigger. Don’t let your own thoughts talk you out of it and certainly don’t let the naysayers tell you it can’t be done. You are able to do anything with self belief, courage, determination, and a can do mentality. Anything is possible with the right mindset and attitude!