
Let’s Get Squared
Since Valentine's Day is quickly approaching, I think it is the perfect time to start by introducing you to my newest addition “I Woof You” blanket. I purchased the fleece fabric, front and back, from Joann’s Fabric Store. It’s Anti-pill plush.
I highly recommend you start your double-sided blanket with either a yard of fabric or smaller before conquering a two or three-yard blanket. It’s quite challenging to manipulate all the fabric and it’s not so overwhelming to handle on a smaller scale. Whatever you decide, just make sure you match the top piece of fabric to the bottom piece in size.
You may notice when you have your material cut the person behind the cut counter is not always concerned with how straight your edges are. That’s why it’s super important to learn how to square up your fabric. You want to have your material as straight as possible before starting.
What You’ll Need
One yard of Fleece Fabric for the front.
One yard of Fleece Fabric for the back.
A very sharp pair of scissors (Fiskars scissors work fine for me, but I do have to sharpen them more often when working with Luxe fabric.)
A Rotatory Cutter (Fiskars has a plethora of different rotary cutting blades.) Decide which one works best for you.
Self Healing Cutting Mat. (I personally use the Sullivans Gridded Cutting Mat.) It's made in the USA and fits perfectly on top of most home tables. It's also great for the floor.
Long Acrylic Ruler with horizontal and vertical markings. (Fiskars sells these in multiple lengths and sizes.) I also just recently purchased a Omnigrid Non-slip Rectangle Quilting Ruler with Removable Lip. It's awesome! The 0.125-inch removable lip adheres to the mat and prevents slippage.
This post may contain affiliate links. I may receive a small commission as an Amazon Associate for purchases made through links on this website. I only share links to items that I use or believe in.

Smooth your fabric out as much as possible. I personally do not wash my fabric first due to fleece not raveling or shrinking. (You will however notice that fleece has a tendency to stretch a bit.) Grab your fabric from one selvage edge and match it to the other selvage edge. Sometimes the manufacturers have printed their logo on the selvage edges in white on the material and there are usually some tiny holes where the fabric has been secured for brushing.
Now, position the folded fabric to the top of your Self Healing Mat. Smooth all the wrinkles and make sure the fabric is flat.
Selvage edges matching with tiny holes.
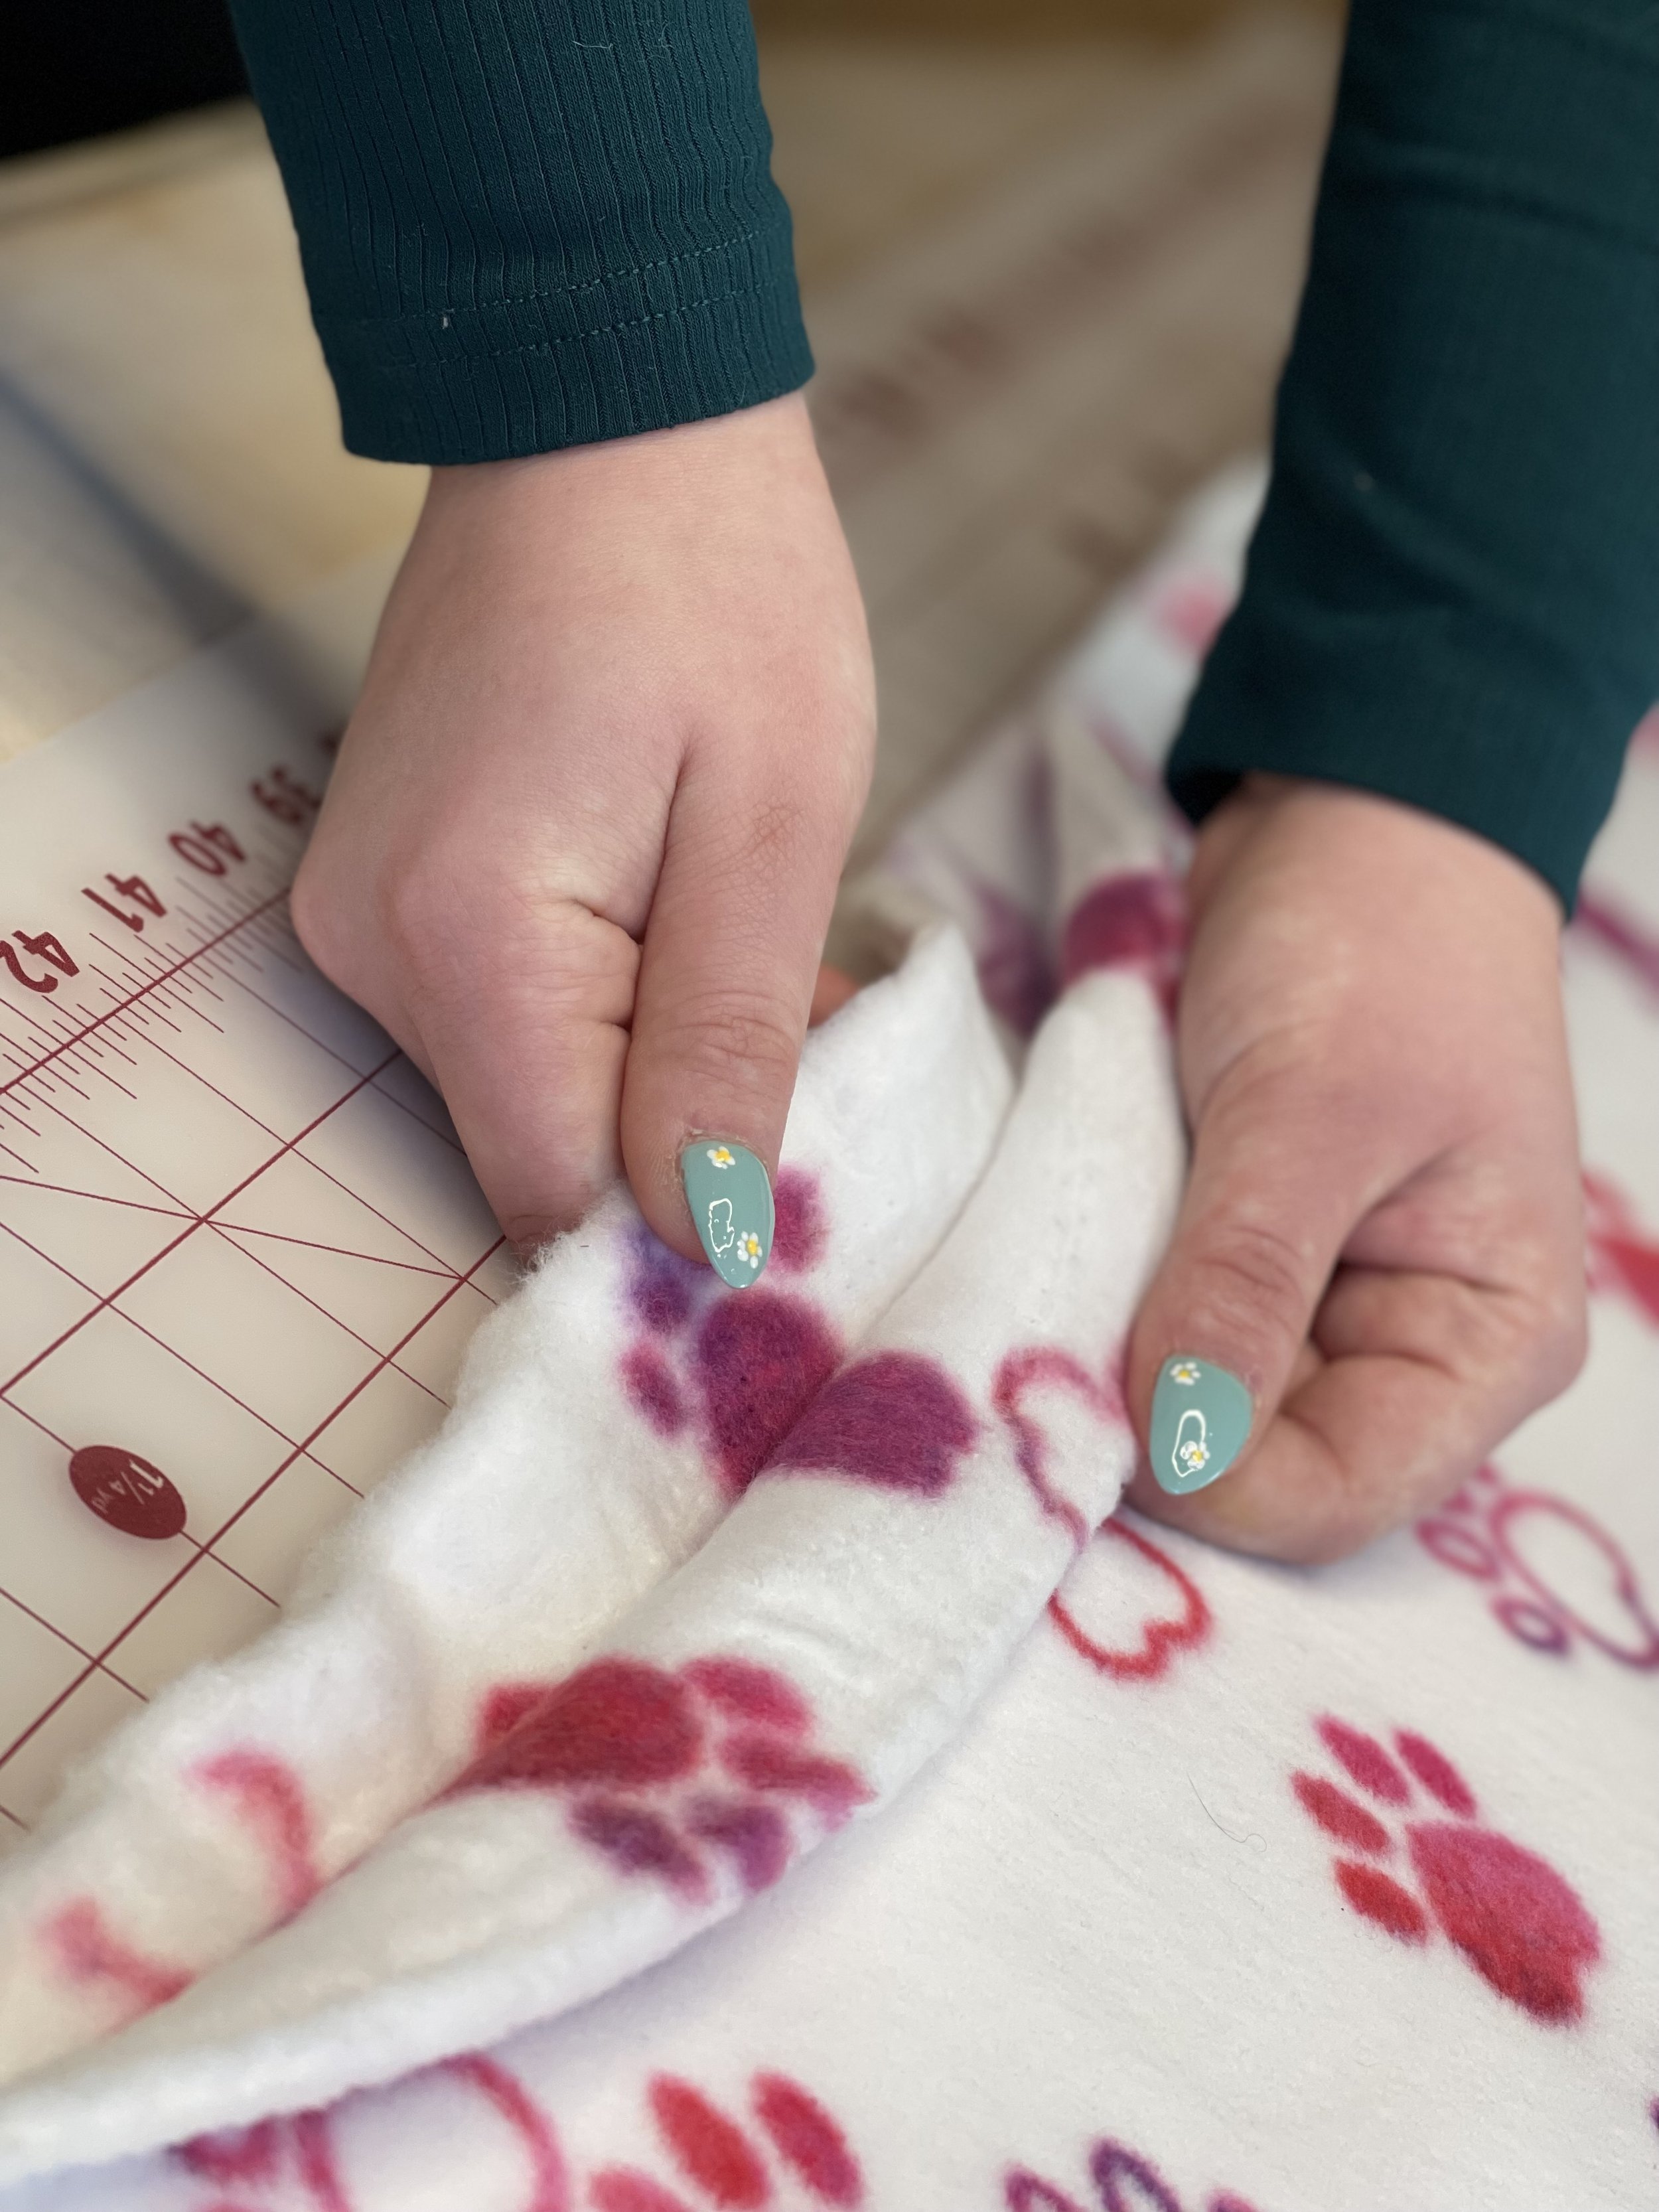
Take your acrylic ruler, align it to the top of your matt and folded fabric. Place your ruler about 3/4 to 1 inch away from the raw edge of fabric. (If you have a pattern in your material, it’s nice to be able to find a placement and line it up with the see-through ruler.) Keep your fingers away from the blade, it’s super sharp and make sure you give the cutter some good steady pressure. With the rotary cutter in place next to the ruler, slice off the ragged edge. Now line it up on the other ragged side and slice it off too. Use your scissors to cut away any small frays.

You can see I matched the dog paw toes in the fabric to get a pretty straight line but still used the ruler to keep me straight.


Make sure you don’t cut too close into the fabric. Follow your rulers edge.
Both pieces of fabric must be squared before starting your project. So let’s do the other side.

Now you’re squared and ready to take on your project!